Hey there, everyone!! It's Tuesday and here at BOAF, that means it's time for a tutorial!
One of my favorite elements of this kit is the sweet little doilys! They are so dainty and cute! I wanted to make one of those little doily dress cards that I've seen on Pinterest, so I decided to figure it out.
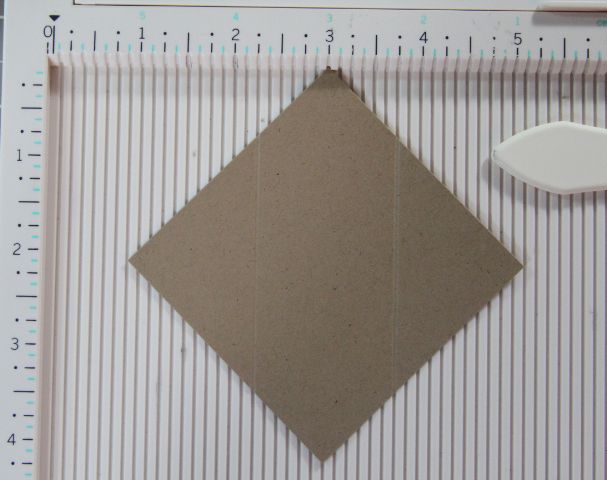
First, start with your doily face down and fold it almost in half:
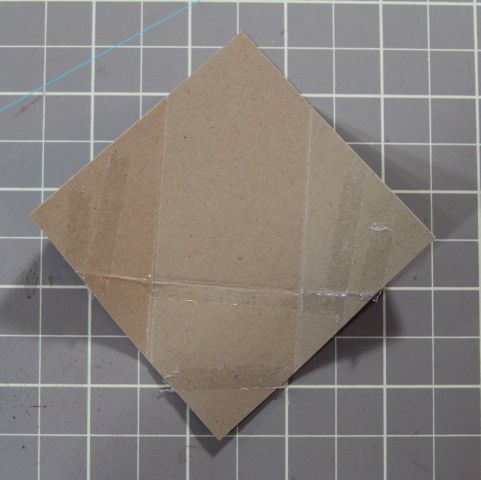
Now fold one third of the doily over:
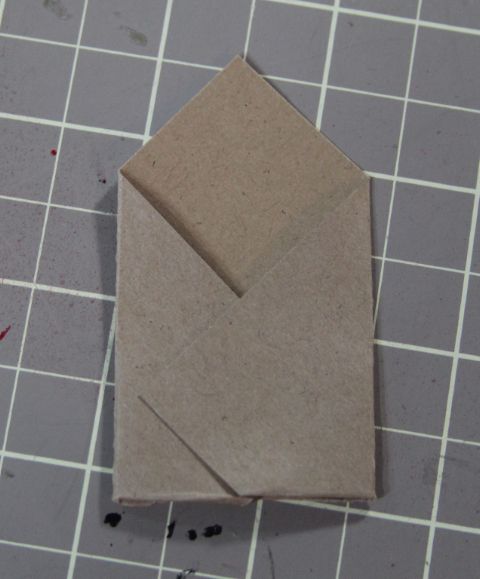
Fold the third on the other side over and adhere it down.
Now, make the top of your dress. Adhere a doily to a piece of cardstock. I used white, but a color might look cool, too. You need to do this because the doily won't punch well without it. Once it's adhered to the cardstock, cut it with a heart punch.
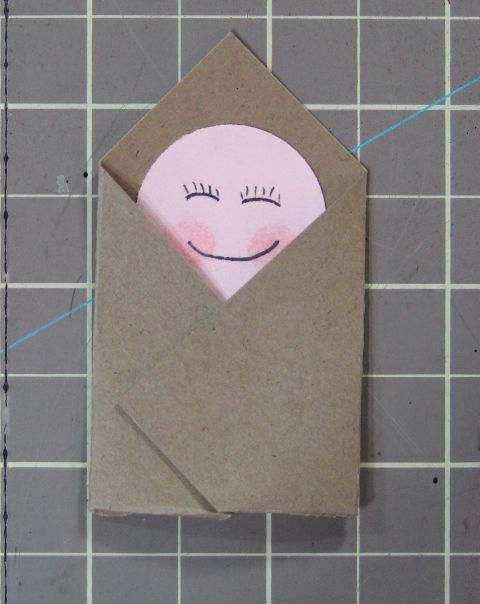
Now, use a little adhesive to stick the bottom of the dress over the bottom of the heart as shown.
Now, add a color "belt" to hide where the two pieces together. Most of them I've seen done with ribbon, but I wanted red and didn't have a thin enough ribbon, so I used some patterned paper from the kit and a sweet little red flower that's from the kit, as well.
Now, your dress is done, just add it to your project! I wanted to keep my card really simple so that the focus stays on the sweet little dress. I used some of the little wooden pieces from the kit extras for the sentiment. I dabbed a little white paint on them so they would match a bit better. The gold pieces in each corner are from the gold thickers that are available as kit extra, as well.
Thanks so much for stopping by tonight! I hope you enjoyed my tutorial and that you're inspired to try one for yourself! If you don't have your February kit yet, there's only ONE left! Hurry if you want to make it yours!


