Gift Card season us upon us– Father’s Day, Graduations, Baby Showers, Weddings and Birthdays. Every occasion calls for a gift and in every case Gift Cards are simple and loved. But, there’s always the question of how you present the gift card. Well, I have a super simple and easy gift card holder that is perfect when you have several to make at once and not a lot of time to do it! And, the greatest part, you can make THREE of them from just one piece of 8 1/2″ by 11″ piece of cardstock!
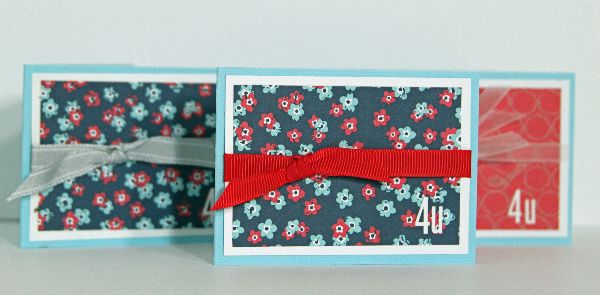
Here’s what we’re making:
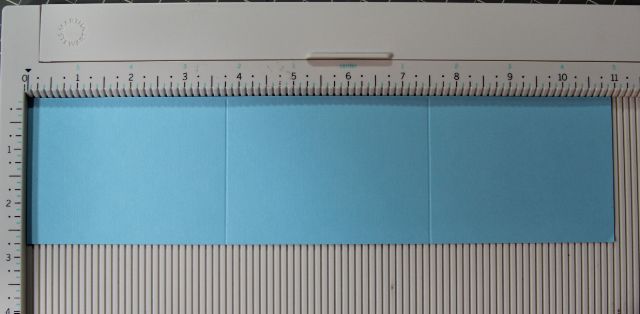
First, cut your cardstock into three strips that are 2 3/4″ by 11″. There will be a tiny strip left over. You can just put that in the recycle bin!

Now, using your score board, score each strip at 3 3/4″ and 7 1/2″.
Now, cut corner to corner on the third panel (the furthest right in the photo above), which is slightly smaller than the rest.
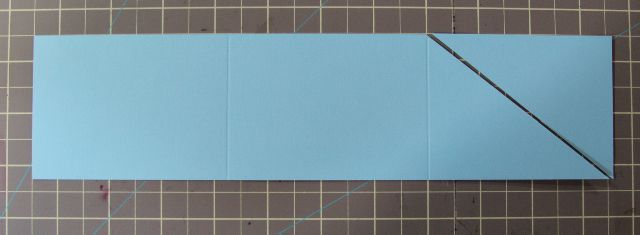
Now, apply adhesive along the bottom edge of the now triangular panel where I marked with a pen below.

Now simply fold the triangular panel over and press down to adhere. This makes the pocket for your gift card.

Once you fold your card on the final score line, that’s IT! No kidding! Isn’t that the easiest thing EVER?! Now, you just need to decorate it!
I cut two white pices at 2 1/2″ by 3 1/2″ and two patterned paper pieces at 2 1/4″ by 3 1/4″. I put one white piece and one patterned piece together for the front of the card. I stamped my sentiment on the other white piece and adhered it to the inside left of my card. Finally, I cut the 2nd patterned paper piece from corner to corner to fit on the triangular flap.
Here’s the front of one of the cards:

And, here’s the inside:

I hope you liked today’s project and that you will find it useful when you have gift cards to give this summer!