Happy Scrappy Wednesday, everyone!! It's Turkey Time and we're getting ready for Thanksgiving. While we are sorting out who is bringing the cranberry sauce and chocolate pie, we're also thinking of decorating and of those family members who may not be able to join us for dinner. So, today I want to share a sweet little paper crafted Turkey that could be used on a card front, napkin ring, place card or any other way you could think of! You can make him in lots of different sizes, depending on the size of the punches or dies that you use!
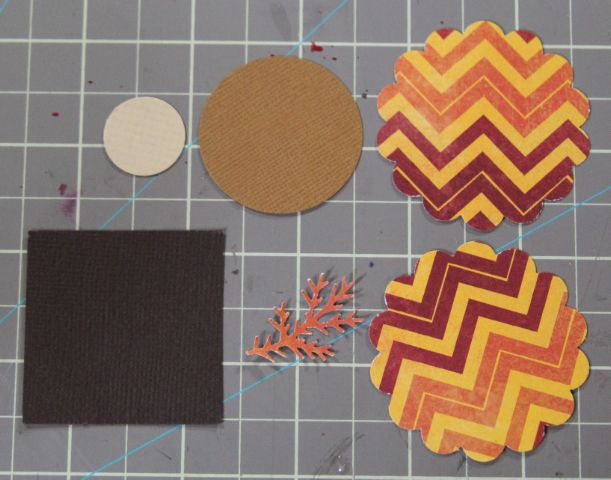
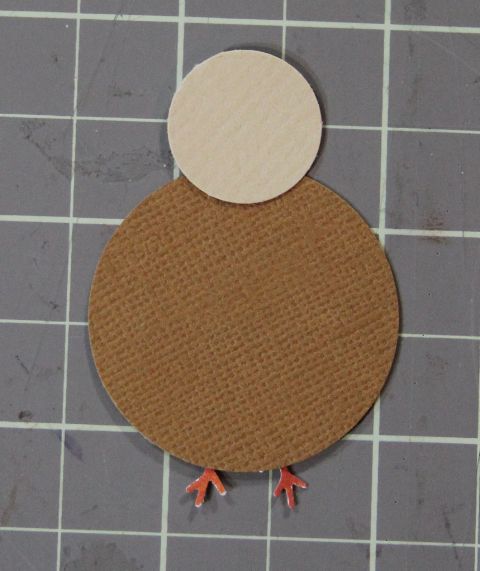
First, gather up the pieces you need to create you turkey: One small circle for the head, one medium circle for the body, two larger circles (scalloped if you have them) for the feathers, a square/scrap for the hat and a punched branch for the feet.
To make the feathers, find 5 scallops and fold them upward as shown:
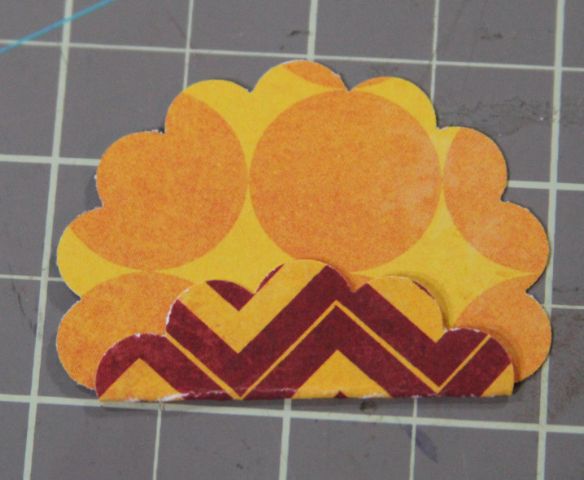
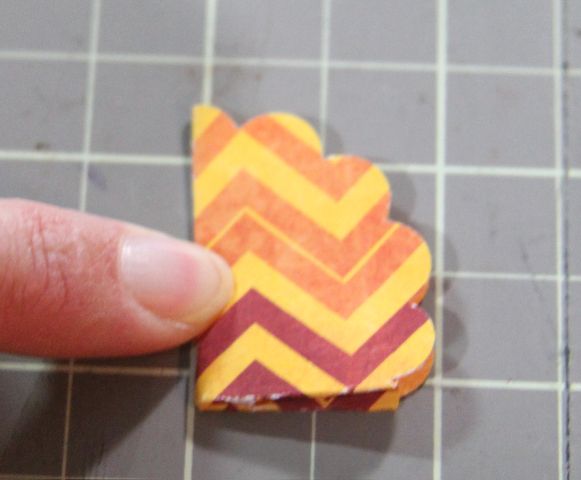
Unfold and find the crease that you just created. Now fold each corner up to meet that middle crease and glue in place
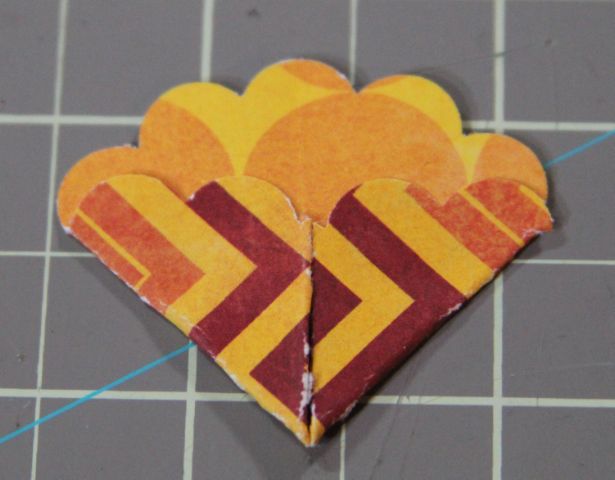
Now, repeat the same process with the 2nd scalloped circle. Using foam tape, stick the two "feather" sections to the back of the body.
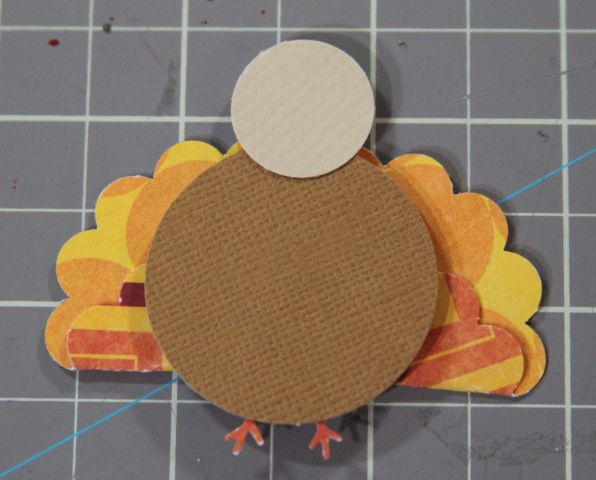
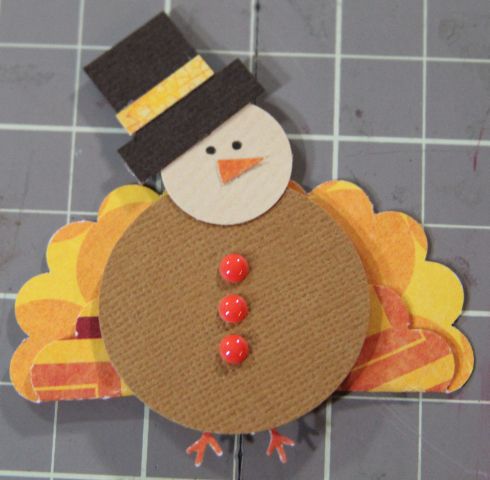
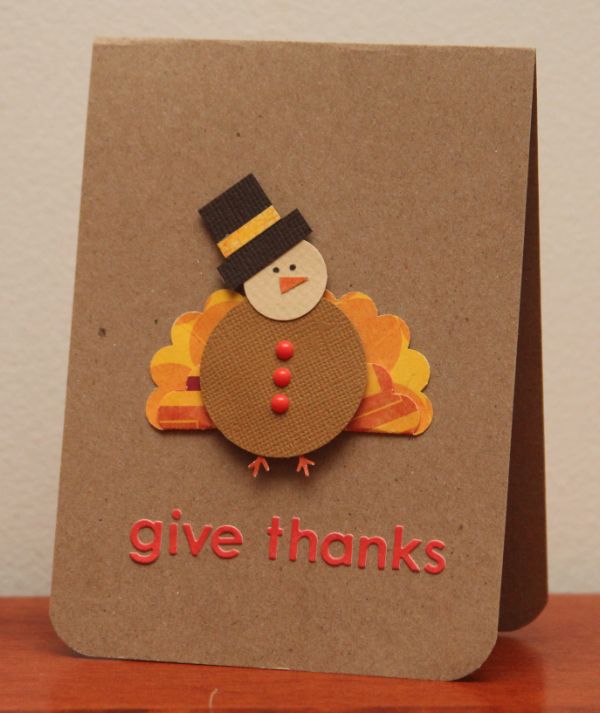
Thanks so much for stopping by today! I hope you were inspired to create a little turkey for yourself!
All materials for this project are available at A Walk Down Memory Lane.
Enjoy!













Soooo cute!
ReplyDeleteDarling turkey!darling turkey!!!!
ReplyDeleteHe is super cute! Gobble Gobble!
ReplyDelete